
 Yahoo News
 The Streak-Free Way to Stain Wood Furniture
Warmer weather is giving us permission to do things we would otherwise be daydreaming about, like finally breaking out the pool floats for Instagram. Furniture staining, painting, and refinishing have taken a backseat thanks to limited PPE, but another benefit of the summer season is the perfect dry weather to take our DIYs outside. Well-ventilated outdoor spaces are perfect to finally tackling that vintage piece you've been hiding in the garage. Follow along below for our streak-proof way to stain wood furniture.
If you're looking to refinish wood furniture with existing stain or varnish, see our refinishing tutorial here.
Materials:
Wood stain
Wood varnish
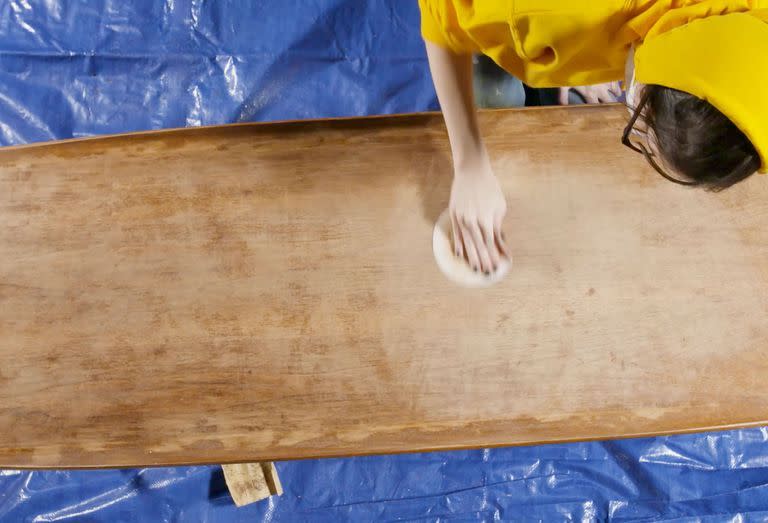
Step 1: Prep Your Surface
Clean your furniture with a tack cloth to gently remove any dust or grime from the wood. Sand with a 220 grit sandpaper to open the wood and make it easier for stain to penetrate.
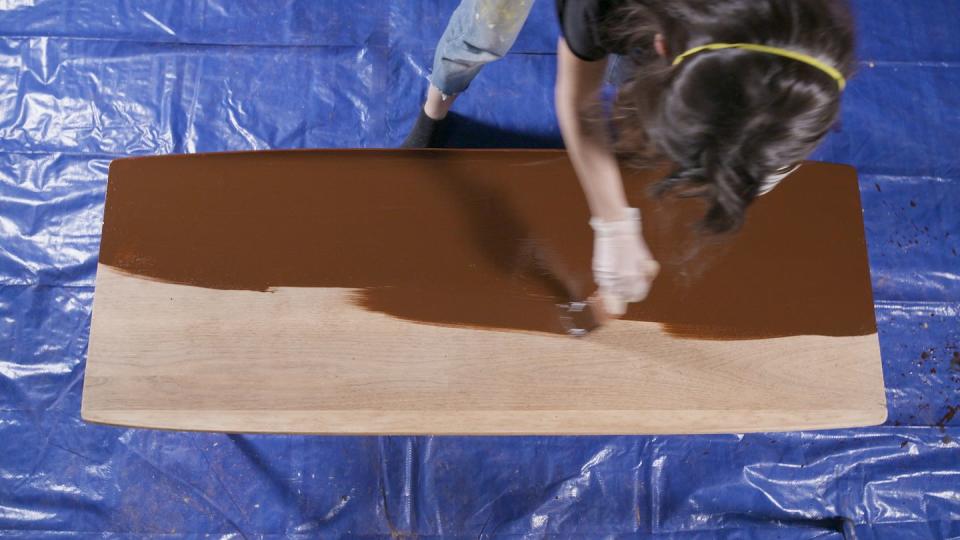
Step 2: Apply Stain
Always test your stain on untreated wood first to get a sense of the color. Paint stirrers can be a quick substitute to check how many coats and the duration you'll need for the perfect tone.
Apply the wood stain liberally with even stokes in the direction of the wood grain. Let the stain soak in for the desired time before wiping off excess with a tack cloth. If you need a second coat, lightly sand and reapply.
Step 3: Seal with Varnish
Some woods prefer an oil finish, but if you've chosen to stain the traditional way, you'll need a hardy varnish to prevent daily wear and tear.
Sand the surface lightly to create grip. With a fresh paintbrush, paint on the varnish in even strokes. Avoid a dry brush or running over the same area too many times to prevent brushstrokes. Never shake your varnish or polyurethane. This causes bubbles in your seal.
Let dry for 24 hours. Lightly buff once dry to bring out the finish's shine.

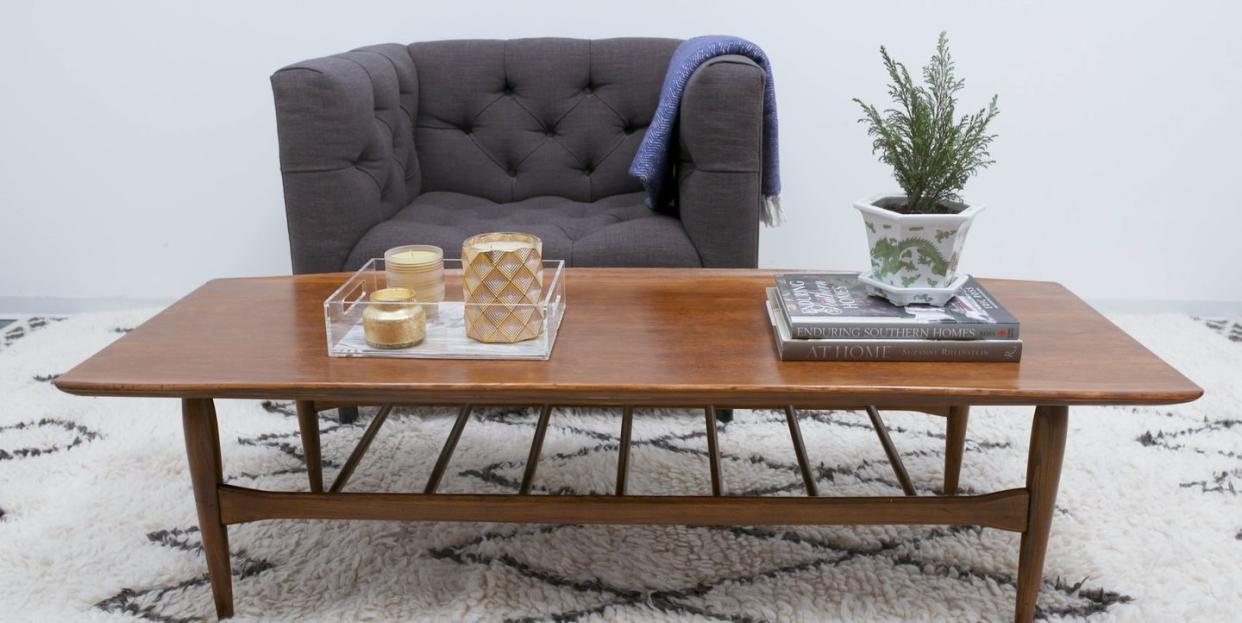
Once you're done, place the piece inside and enjoy for years to come.
Follow House Beautiful on Instagram.
You Might Also Like

