I made sous-vide chicken for the first time, and it was shockingly easy to achieve restaurant-quality results

I tried using a sous-vide method for juicier, better chicken at home.
The technique is super easy, basically just throwing things in a bag and placing it in water.
I'd make a few adjustments next time, but I can't wait to make sous-vide chicken again.
My parents were early adopters of the sous-vide trend, and I quickly realized how easy it made slow-cooking meats.
The cooking technique involves placing food in a sealable bag and dropping it in water set to a specific temperature via a sous-vide cooker.
When I heard that it can produce perfect chicken results, I was instantly intrigued. We all know groceries are expensive right now, so unlocking a surefire way to never end up with dry, bland chicken is extremely valuable to me.
I typically only make chicken when I have the time to babysit it, and even then, I worry about it drying out. If this method works, it could completely shake up my diet.
I found a recipe from chef J. Kenji López-Alt on Serious Eats and got to work.
There are several variables to consider when using a sous-vide method.
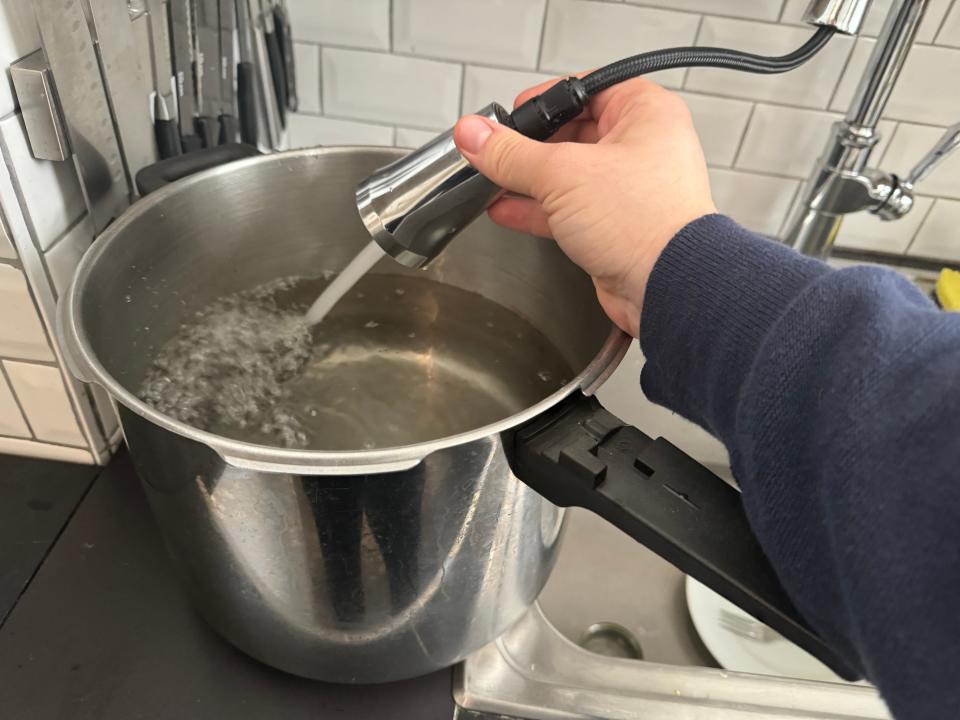
López-Alt gave a few options for temperature and cooking time, and I picked ones that would give me the juiciest results: 145 degrees Fahrenheit for one and a half to four hours.
The recipe left the seasoning up to me, so I prepped the pot of water and pondered my options.
I went with a classic combo of lemon and garlic.
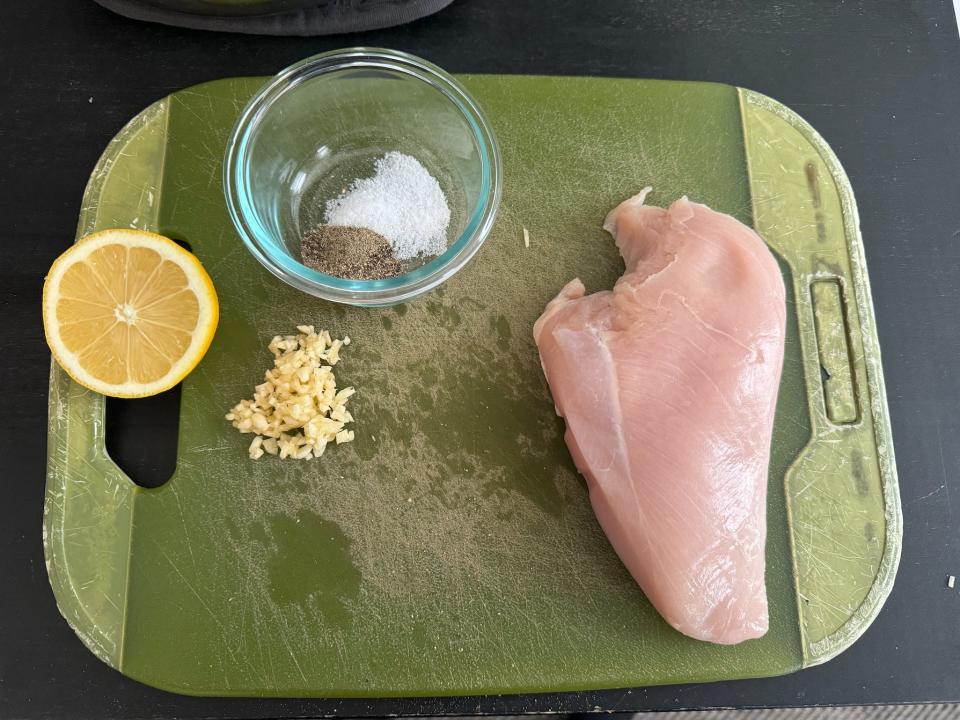
Salt and pepper on their own seemed too basic, so I perused a few more articles and added lemon and garlic to the base.
I hoped the garlic would add a little more flavor and the lemon would ensure a juicy product.
I minced two cloves of garlic, juiced half a lemon, and added a teaspoon (each) of salt and pepper to the bag with my chicken. By the time I finished, the water was ready.
I don't vacuum-seal my bags for sous-vide recipes.
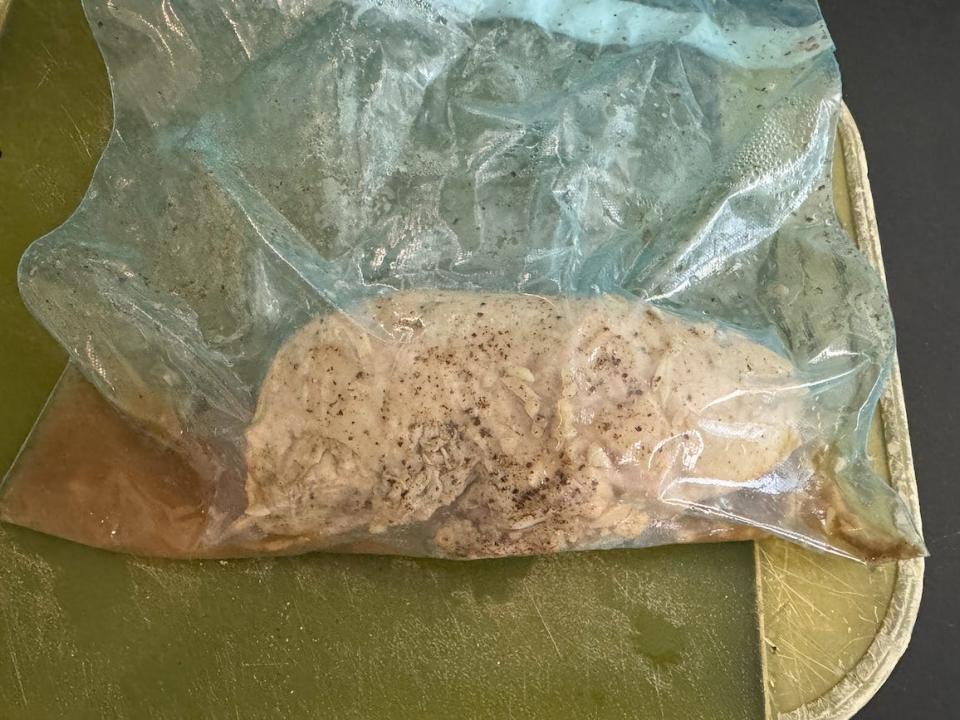
Some sous-vide recipes call for vacuum-sealed bags, but I've always been able to get enough of the air out just by using a regular sealable plastic bag.
Just make sure that whatever brand you get is free of BPAs or else it's not safe to sous vide. Typically, if the package says it's microwave-safe, it's fine to use.
Once I had everything prepped, I dropped the bag in the pot and walked away. The sous-vide cooker keeps the water at a consistent temperature, so there wasn't anything else for me to do.
I cooked my chicken for an hour and a half.
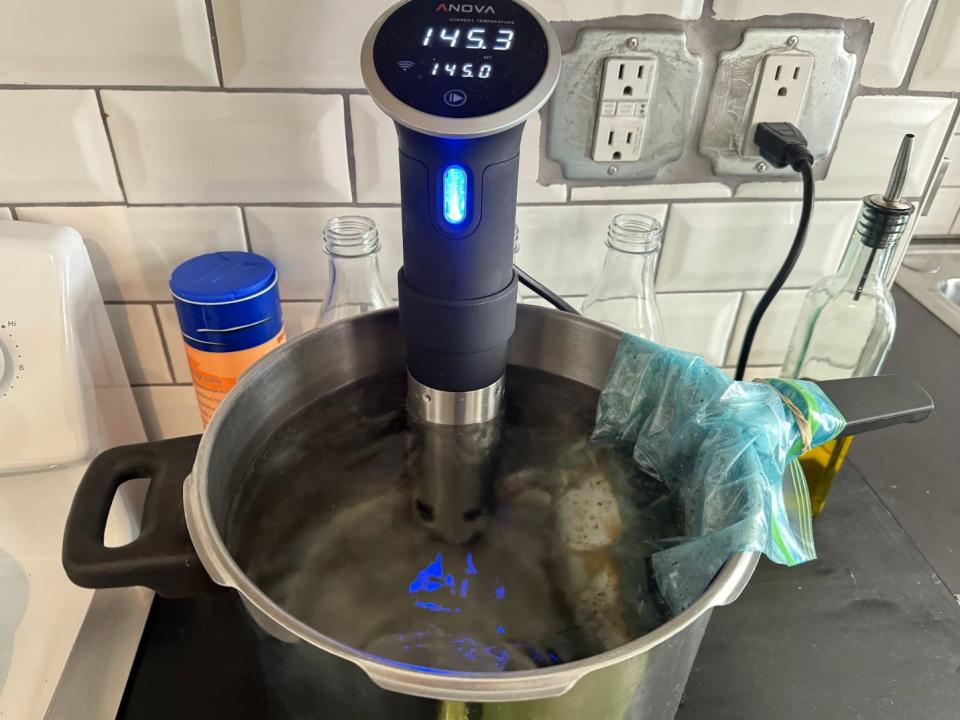
After 45 minutes, I pulled the bag out to inspect my chicken. Juices were already floating around, and I could see the salt and pepper settling into the mixture.
The garlic didn't seem too soft yet, but I had a feeling that would take a little longer when I started.
Once another 45 minutes passed, I removed the bag and opened it up — it smelled delicious.
The method worked almost perfectly.
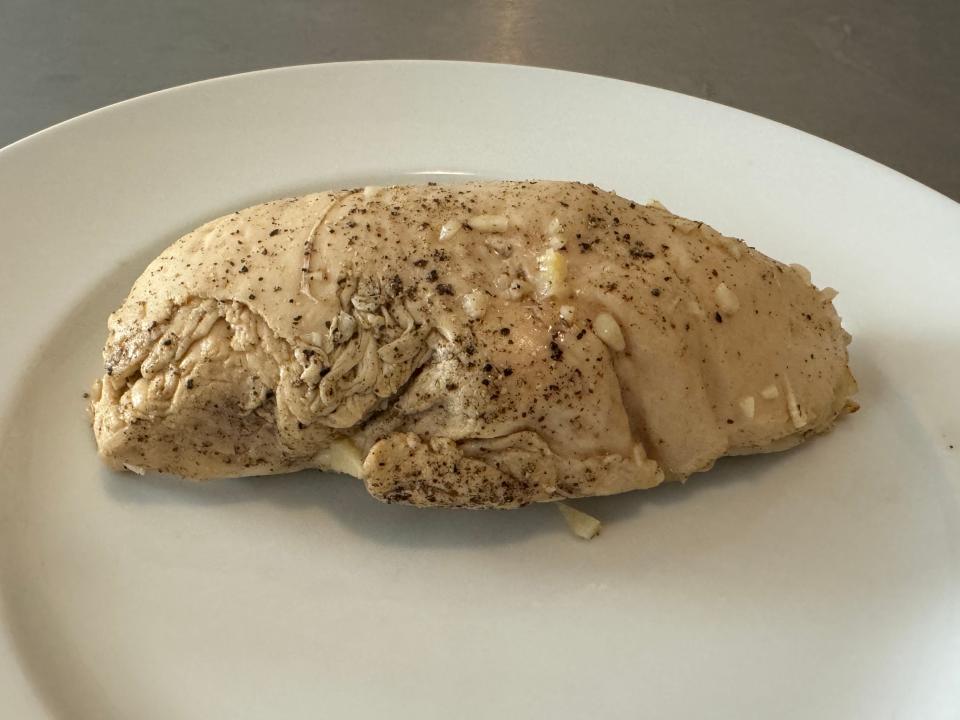
At this point, I could've seared the cooked chicken on the stove if I wanted to give it a little texture, but I decided against it.
My knife cut into the chicken like butter and came up clean. The texture was perfect — soft but not mushy.
I thought the lemon flavor was a touch strong, but that's easily correctable.
The garlic was the one thing that didn't work. It certainly wasn't raw, but it wasn't quite cooked either. I've read before that garlic powder is better for sous vide, and I'm beginning to agree.
I wanted to test the other end of the time range.
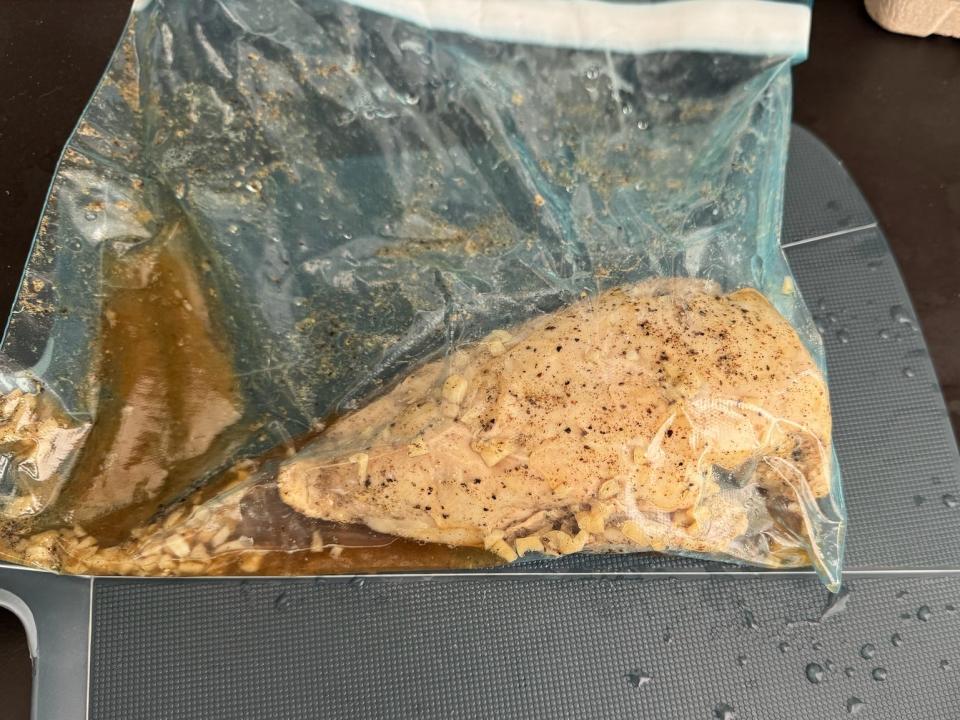
Since the directions for the juicy chicken ranged from one and a half to four hours, I decided to try the exact same recipe again at the other end of the range.
I wanted to see how it would impact the chicken, and if it would give the garlic and lemon more time to cook.
When the timer went off, I excitedly pulled out the bag.
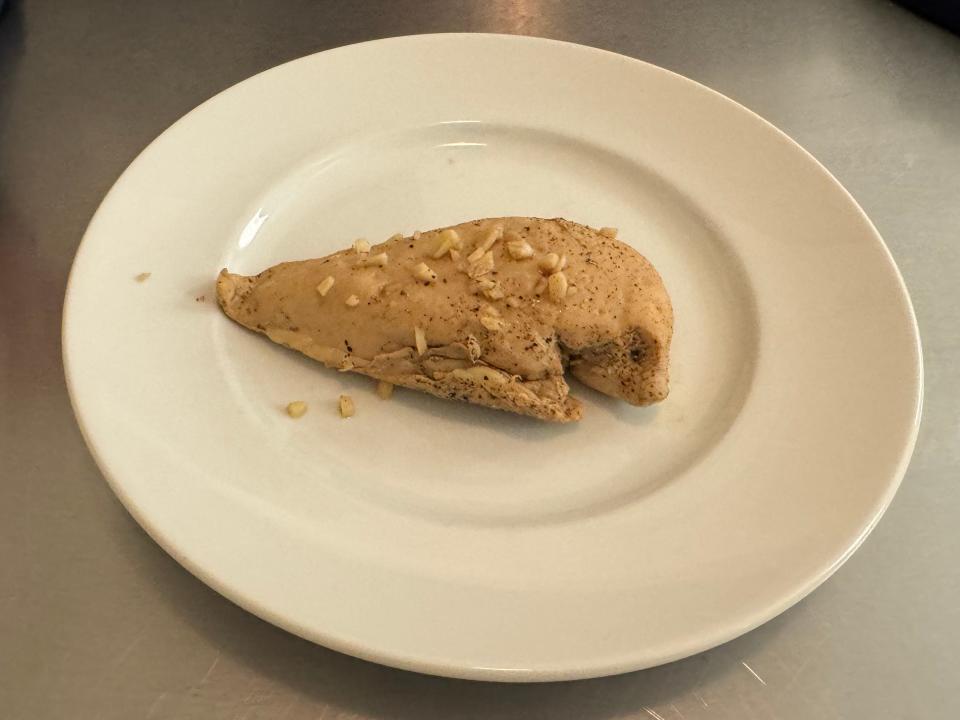
There was slightly more juice in the bag than the first cook, and the garlic seemed softer. But the chicken was tougher and stringier.
It was also way harder to cut, so I was a bit worried as I prepared my first bite.
Luckily, the chicken still tasted great, but it was noticeably drier.
The garlic wasn't that much softer, and the meat lost much of what made it special. It just tasted like a baked chicken — delicious, but baked nonetheless.
I'm going to sous vide all my chicken from now on.
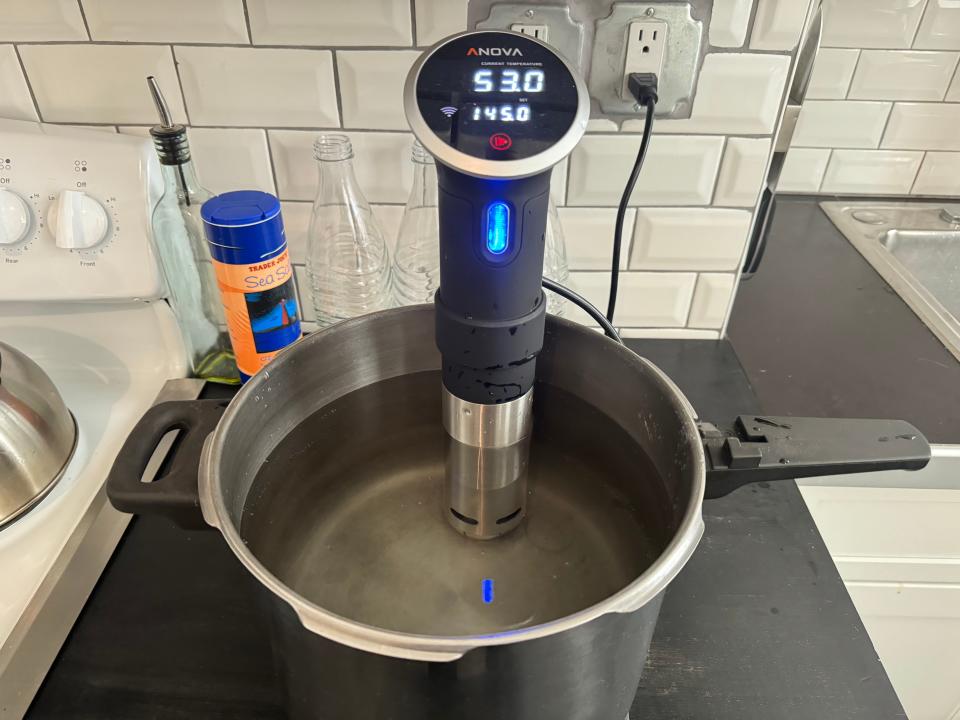
Overall, I'm ecstatic about how this recipe went.
I can't wait to sous vide more chicken, though I'll be careful to stick with the hour-and-a-half cooking time.
In the future, I'd also use slightly less lemon and swap the minced garlic for garlic powder.
Sous-vide cookers usually start between $100 and $150, so it's not the cheapest way to cook. But it's definitely an easy one. But finding an easy cooking method — literally throwing things in a bag and forgetting about them — that produces tasty results is a joyous occasion.
Read the original article on Business Insider

 Yahoo News
