
 Yahoo News
 Watch how to make a paper crown with our video guide
Make anyone feel like royalty with our gorgeous paper crowns, made simply with some coloured card, fabric offcuts and pompoms!
This is a great craft to do with the kids, too – they can get involved by decorating their crowns with all sorts of gorgeous embellishments – stick-on gems, buttons, milk bottle tops, eco-glitter or some felt tips to really personalise them. It's a great introduction to papercraft for little ones. Just be sure to keep some tasks, like the hot glue gun and using a craft knife, for the grown-ups to do.
Depending on the size of card you’re using, you may have to cut two pieces and glue them together to make one long strip, especially for adults. Then decorate your paper crown with fabric offcuts, pompoms and whatever other embellishments you have. We love the red, white and blue theme of these crowns, but you can choose any colours and style to suit you.
It's a great way to use up scraps of fabric from other sewing projects, too.
What you need to create paper crowns
Scrap card
Pencil
Ruler
Mini pompoms
Scissors
How to make a paper crown step-by-step in pictures
Step 1
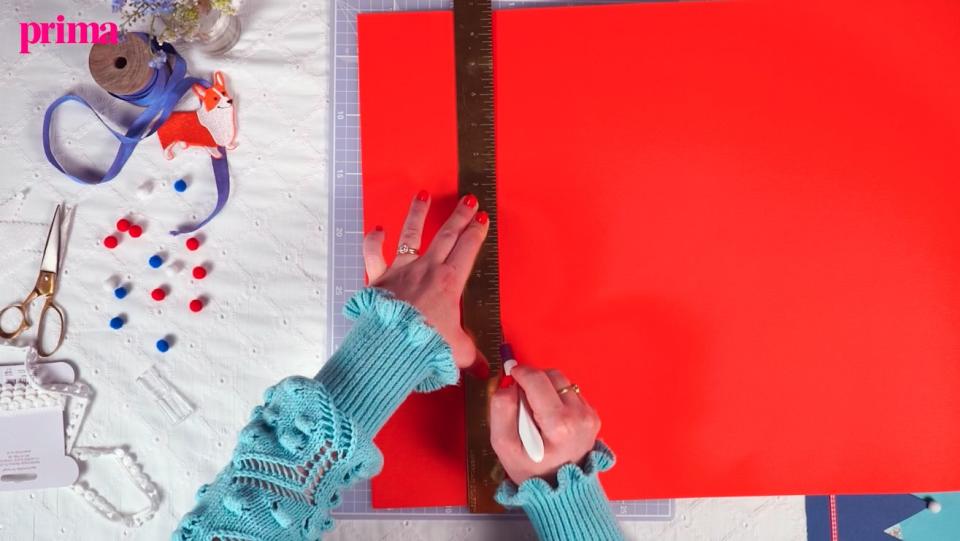
Measure around the top of your head (best use a tape measure here!), then measure this length onto a large piece of card, adding 2-3cm for overlapping and sticking later. Measure down about 10cm at either end, position a long ruler between the two points then use a craft knife to carefully cut the strip out.
Step 2
Fold over a small piece of scrap card by about 2cm. Measure 4cm up on the folded edge and mark with a pencil, position your ruler on the diagonal and draw a line to the bottom edge. Cut out the shape, then open out the triangle template.

Step 3
Position the triangle template along the long edge of the strip of card, then use a pencil to draw around it. Move the template along and draw another triangle right next to the first. Continue drawing triangles all the way along to the opposite edge.

Step 4
Carefully cut out all the triangles with scissors (or a craft knife). You can save these to use on another craft project.

Step 5
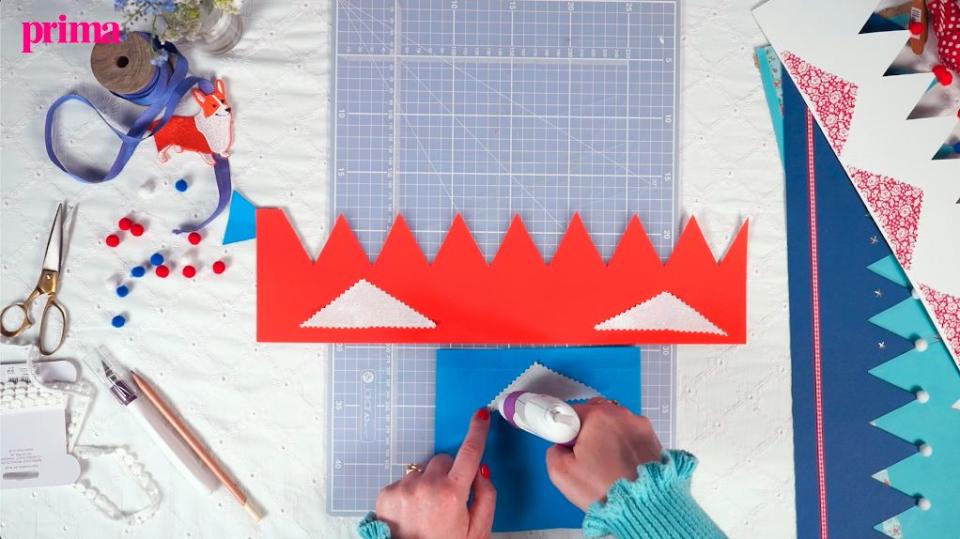
Using a hot glue gun (or fabric glue), apply a little of the glue to the back of a triangular fabric off-cut (these were left over from our no-sew fabric bunting). Position in the middle of the crown, towards the bottom edge. Repeat this process with two more fabric triangles.
Step 6
For the edging, squeeze out a small blob of hot glue onto a point of your crown, then carefully press on a mini pompom until it’s adhered. Continue glueing pompoms onto each point, all the way along to the end. You can add more embellishments if you wish. Go all out!

Step 7
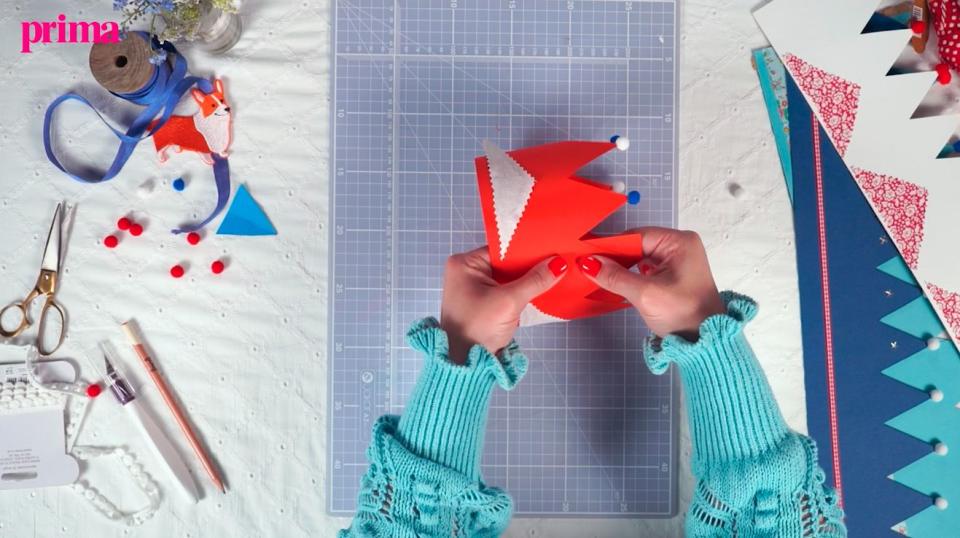
Wrap the crown around your head and make a mark where it overlaps. Apply a line of glue (or double sided tape) and press the two pieces together to complete your crown. Cut out the excess card so you have your final point and glue on your last pompom. Then pop it on your head and wear it with pride!
Alternatively, you can punch a hole at each end and thread through some ribbon, then use this to tie a beautiful bow at the back. This also means you can store your crowns flat for your next event!
Do you love crafting? Share your creations with us by tagging @primamag in your pictures on Instagram!
You Might Also Like

